Typst: the developer way of authoring PDFs
Most developers at some point in their education or career come across the DRY (Don't Repeat Yourself) principle and for most of them this will become a dogma to apply in every aspect of life.
For example, I'm looking for a job, an already frustrating, joyless, and depressing endeavour. What makes it all the more painful is the need to deal with a word processor to update my resume, to tinker every now and then with its hostile and (to me) incomprehensible, at times obscure, interface to periodically check font sizes, line heights, colors, and margins. And, worst of all, modifying them.
You cut some text, you paste some back, you try to add a line-break or press enter where you, apparently, shouldn't have, or, worse, try to create bullet points and it's a nightmare. Something breaks and you have to fix it. You have to make adjustments! Change the style, the alignment, not in one but at least two places.
Well, not on my watch!
The developer's way commands that hours, if not days, are spent to overthink and subsequently overengineer a solution that will allow me to write a CV without doing anything twice, saving dozens of seconds over the course of months.
This has led me to discover and learn Typst.
Introducing Typst
According to the official docs, Typst is a markup-based typesetting system. It lets you write documents using a syntax that at times reminds me of Markdown, but with way more advanced capabilities, and easily compile them to beautifully typeset PDFs. Or, it gives you the same (almost the same? Not sure) control as LaTeX without pain and suffering.
What's interesting for me is that it is scriptable. I can create variables, use conditionals and loops, even functions, and split a document into modules that I can then import and reuse. All to serve the sacred DRY principle!
What I find even better is the possibility of applying styles to my documents by writing rules. It's not CSS of course, but once you understand it, it gives you all the control you need.
Typst is available both as a CLI tool and as a web app. All the examples in this post can be tried directly in the online playground without signing up.
Let's say that my CV looks like this:
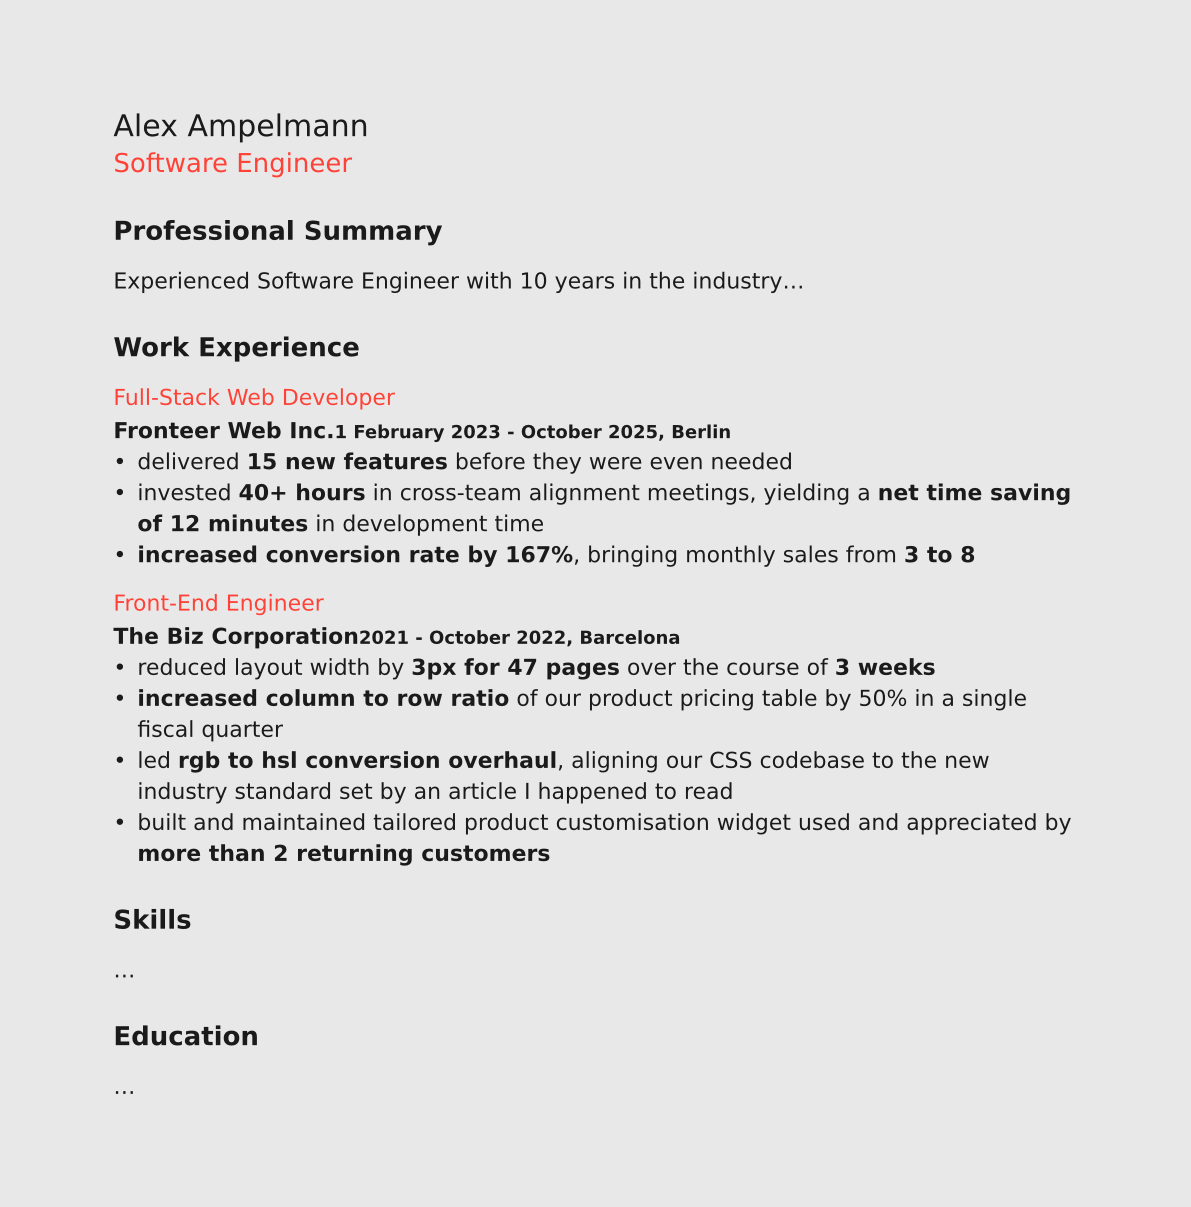
Nothing special, but the document presents enough repetitions and patterns that can be beautifully automated with an incredibly overengineered solution.
A quick Typst tutorial
I'll go over a few Typst concepts before applying them to this use case.
Typst can operate in three different modes: markup, code, and math.
Markup mode is the default. It works similarly to Markdown, with some syntax differences, and lets us write basic markup for common document elements.
- Code language
- typ
= This is a heading of level 1
== This is a heading of level 2

This is a regular paragraph with some _emphasised_ and *strongly emphasised* words.

And a list:

- item 1
- item 2
- item 3
With code mode we gain control over every aspect of our document. We can style and customise elements, create reusable content functions, separate content from presentation, and programmatically control the rendering of the document through loops and conditionals.
We enter code mode by prefixing an expression with #. The expression is then evaluated and its result embedded in the document.
- Code language
- typ
#(2) // embeds 2 in the document
#("bla") // embeds bla in the document
#(1 + 2) // evaluates the expression and embeds 3
We can also declare variables and embed their value later.
- Code language
- typ
// declares a variable
#let name = "Alex Ampelmann";
#(name) // embeds it in the document
In code mode, square brackets [] switch back to markup mode, so we can assign marked up content to a variable.
- Code language
- typ
// assigns marked up text to a variable
#let title = [= Alex Ampelmann]
#(title) // embeds it in the document

// same, but reusing the `name` variable
#let title-with-var = [= #name]
#(title-with-var) // heading with Alex Ampelmann
Using functions, we can style elements. The built-in text function, for example, lets us control, among other properties, font size, weight, and colour.
- Code language
- typ
#text(fill: red, size: 18pt, weight: "bold")[Some text]
#v(12pt) // adds 12pt of vertical space
#text(fill: red, size: 18pt, weight: "bold")[More text]
Typst has several data types. It's common to use dictionaries (a collection of key-value pairs) to store styles to be reused later in combination with the spread operator ...
- Code language
- typ
#let style = (fill: red, size: 18pt, weight: "bold")
// dictionary's values are spread and passed as function arguments
#text(..style)[Some text]
#v(12pt)
#text(..style)[More text]
Finally, let's have a look at arrays and control flow. Inside a code block {}, we are already in code mode, so we don't need to prefix every expression with #.
- Code language
- typ
#let skills = (
  (name: "React", type: "frontend"),
  (name: "TypeScript", type: "frontend"),
  (name: "Node.js", type: "backend"),
  (name: "PostgreSQL", type: "backend"),
  (name: "Docker", type: "backend"),
)

#for skill in skills {
  if skill.type == "frontend" {
    text(fill: blue)[- #skill.name]
  }
  else {
    text(fill: green)[- #skill.name]
  }
}
Structuring the document
I start by creating the document structure using Typst's basic markup.
- Code language
- typ
= Alex Ampelmann

Software Engineer

== Professional Summary

Experienced Software Engineer with 10 years in the industry...

== Work Experience

=== Full-Stack Web Developer

Fronteer Web Inc.

1 February 2023 - October 2025, Berlin

- delivered 15 new features before they were even needed
- invested 40+ hours in cross-team alignment meetings, yielding a net time saving of 12 minutes in development time
- increased conversion rate by 167%, bringing monthly sales from 3 to 8

=== Front-End Engineer

The Biz Corporation

2021 - October 2022, Barcelona

- reduced layout width by 3px for 47 pages over the course of 3 weeks
- increased column to row ratio of our product pricing table by 50% in a single fiscal quarter
- led rgb to hsl conversion overhaul, aligning our CSS codebase to the new industry standard set by an article I happened to read
- built and maintained tailored product customisation widget used and appreciated by more than 2 returning customers

=== Skills

...

=== Education

...
With this I've taken care of structuring the document through headings, the same way I would in HTML. "Alex Ampelmann" is the document title, so it gets the main heading (=). "Professional Summary", "Work Experience", etc. all mark subsections, so they get the second level (==). Other things like "Software Engineer", company names, and so on don't indicate a section of their own, they're just accompanying text. In HTML I would mark them up with a <p>. I've also added markup for bullet lists.
Global styling
Now that I have a structure in place, I can use set and show-set rules to customise built-in Typst elements.
Set rules define default properties for an element type: line height for paragraphs, margins for the page, list symbols, and so on.
With show rules I can completely redefine how an element is rendered.
- Code language
- typ
#set page(fill: rgb("#e8e8e8"), margin: (x: 2cm, y: 2.5cm))
#set text(fill: rgb("#1a1a1a"), font: "DejaVu Sans", size: 14pt)

#show heading.where(level: 1): set text(size: 16pt, weight: "bold")
#show heading.where(level: 2): set text(size: 18pt, weight: "normal")
#show heading.where(level: 3): set text(size: 14pt, weight: "regular", fill: red)
set pageandset textdefine global defaults for the whole document- the
#show heading.where(level: N)rules target headings of a specific level and redefine their styling, in this case by applying aset textrule to each of them individually
Say I want an arrow before each level 2 heading, I can use a show rule to modify the output.
- Code language
- typ
#show heading.where(level: 2): it => [→ #it.body]it => [→ #it.body]: an anonymous function whereitis the parameter and the rest is the function bodyit: the name of the parameter is a convention used in Typst's documentation.itjust represents the element being processed[→ #it.body]: a content block that renders the → symbol followed by the element's body
I'll use this approach to add vertical spacing to certain elements.
- Code language
- typ
#show heading.where(level: 2): it => {
  v(24pt, weak: true)
  text(size: 18pt, weight: "normal")[#it.body]
  v(16pt, weak: true)
}
Styling the unmarked text
Elements like "Software Engineer", company names, and dates have no unique markup, so I cannot target them with set or show rules. To style them I'll use the built-in text function.
- Code language
- typ
#text(size: 11pt, weight: "bold")[Fronteer Web Inc.]
#text(size: 11pt)[1 February 2023 - October 2025, Berlin]
#text(size: 11pt, weight: "bold")[The Biz Corporation]
#text(size: 11pt)[2021 - October 2022, Barcelona]
This can be refactored and optimised by creating my own function.
- Code language
- typ
#let company-name(content) = {
  text(size: 11pt, weight: "bold")[#content]
}

#company-name([Fronteer Web Inc.])
#company-name([The Biz Corporation])
To break it down:
- using
let, I'm assigning a function to the identifiercompany-name - it accepts one argument which I'm naming
content - the curly brackets
{}contain the body of the function - here I'm calling the
textfunction and applying it tocontent, the argument we passed in - with
#company-name([...])I call the function, embedding its result in the document
I could use a return statement, but in this case it's not necessary. If a Typst function doesn't have an explicit return statement, the function will return the result of the expressions inside the function body joined together.
In this case there's a single expression, text(...), and that will be the returned value. For this reason, the code could be simplified further by removing the curly brackets altogether.
- Code language
- typ
#let company-name(content) = text(size: 11pt, weight: "bold")[#content]Separating data and presentation
Putting everything together I get this:
- Code language
- typ
#set page(margin: (x: 2cm, y: 2cm))
#set text(fill: rgb("#1a1a1a"), font: "DejaVu Sans", size: 11pt)

#show heading.where(level: 1): set text(size: 15pt, weight: "regular")
#show heading.where(level: 2): it => {
  v(24pt, weak: true)
  text(size: 13pt, weight: "bold")[#it.body]
  v(16pt, weak: true)
}
#show heading.where(level: 3): set text(size: 11pt, weight: "regular", fill: red)


#let company-name-style = (size: 11pt, weight: "bold")
#let company-name(content) = text(..company-name-style)[#content]

#let period-location(content) = text(size: 9pt, weight: "bold")[#content]

= Alex Ampelmann

#text(size: 13pt, fill: red)[Software Engineer]

== Professional Summary

Experienced Software Engineer with 10 years in the industry...

== Work Experience

=== Full-Stack Web Developer

#company-name([Fronteer Web Inc.])

#period-location([1 February 2023 - October 2025, Berlin])

- delivered *15 new features* before they were even needed
- invested *40+ hours* in cross-team alignment meetings, yielding a *net time saving of 12 minutes* in development time
- *increased conversion rate by 167%*, bringing monthly sales from *3 to 8*

=== Front-End Engineer

#company-name([The Biz Corporation])

#period-location([2021 - October 2022, Barcelona])

- reduced layout width by *3px for 47 pages* over the course of *3 weeks*
- *increased column to row ratio* of our product pricing table by 50% in a single fiscal quarter
- led *rgb to hsl conversion overhaul*, aligning our CSS codebase to the new industry standard set by an article I happened to read
- built and maintained tailored product customisation widget used and appreciated by *more than 2 returning customers*

== Skills

...

== Education

...
It's not bad, but also not something that can't be improved with a loop and some more refactoring.
What I want to optimise is the "Work Experience" section, which is made by blocks of content that share a common structure.
First of all, I save the text in an array of dictionaries.
- Code language
- typ
#let experiences = (
  (
    job-title: "Full-Stack Web Developer",
    company: "Fronteer Web Inc.",
    dates: "1 February 2023 - October 2025",
    location: "Berlin",
    achievements: (
      [delivered *15 new features* before they were even needed],
      [invested *40+ hours* in cross-team alignment meetings, yielding a *net time saving of 12 minutes* in development time],
      [*increased conversion rate by 167%*, bringing monthly sales from *3 to 8*],
    ),
  ),
  (
    job-title: "Front-End Engineer",
    company: "The Biz Corporation",
    dates: "2021 - October 2022",
    location: "Barcelona",
    achievements: (
      [reduced layout width by *3px for 47 pages* over the course of *3 weeks*],
      [*increased column to row ratio* of our product pricing table by 50% in a single fiscal quarter],
      [led *rgb to hsl conversion overhaul*, aligning our CSS codebase to the new industry standard set by an article I happened to read],
      [built and maintained tailored product customisation widget used and appreciated by *more than 2 returning customers*],
    ),
  ),
)
The achievements property is an array of content blocks, preserving the inline markup when rendered.
I can now iterate over the array and generate the markup for each entry.
- Code language
- typ
#for exp in experiences {
  [=== #exp.job-title]
  company-name(exp.company)
  linebreak()
  period-location(exp.dates + ", " + exp.location)
  for achievement in exp.achievements {
    [- #achievement]
  }
}
Putting it, one more time, all together, here is the final result.
- Code language
- typ
#set page(margin: (x: 2cm, y: 2cm))
#set text(fill: rgb("#1a1a1a"), font: "DejaVu Sans", size: 11pt)

#show heading.where(level: 1): set text(size: 15pt, weight: "regular")
#show heading.where(level: 2): it => {
  v(24pt, weak: true)
  text(size: 13pt, weight: "bold")[#it.body]
  v(16pt, weak: true)
}
#show heading.where(level: 3): set text(size: 11pt, weight: "regular", fill: red)

#let company-name-style = (size: 11pt, weight: "bold")
#let company-name(content) = text(..company-name-style)[#content]

#let period-location(content) = text(size: 9pt, weight: "bold")[#content]

#let experiences = (
  (
    job-title: "Full-Stack Web Developer",
    company: "Fronteer Web Inc.",
    dates: "1 February 2023 - October 2025",
    location: "Berlin",
    achievements: (
      [delivered *15 new features* before they were even needed],
      [invested *40+ hours* in cross-team alignment meetings, yielding a *net time saving of 12 minutes* in development time],
      [*increased conversion rate by 167%*, bringing monthly sales from *3 to 8*],
    ),
  ),
  (
    job-title: "Front-End Engineer",
    company: "The Biz Corporation",
    dates: "2021 - October 2022",
    location: "Barcelona",
    achievements: (
      [reduced layout width by *3px for 47 pages* over the course of *3 weeks*],
      [*increased column to row ratio* of our product pricing table by 50% in a single fiscal quarter],
      [led *rgb to hsl conversion overhaul*, aligning our CSS codebase to the new industry standard set by an article I happened to read],
      [built and maintained tailored product customisation widget used and appreciated by *more than 2 returning customers*],
    ),
  ),
)


= Alex Ampelmann

#text(size: 13pt, fill: red)[Software Engineer]

== Professional Summary

Experienced Software Engineer with 10 years in the industry...

== Work Experience

#for exp in experiences {
  [=== #exp.job-title]
  company-name(exp.company)
  linebreak()
  period-location(exp.dates + ", " + exp.location)
  for achievement in exp.achievements {
    [- #achievement]
  }
}

== Skills

...

== Education

...
Further improvements
There are definitely some details that can be improved, like for example the spacing between elements that I've completely ignored.
I could also create dictionaries to store design tokens like colors and sizes, to reuse them easily across the document and help maintain consistency, but this, unlike everything else in this post, would probably be overkill.
And a really nice touch, definitely not overkill, would be to split the files to keep data, styles and main layout in separate files, which is doable through Typst modules.